Subdomains
Subdomains enable hierarchical organization and more granular access control within a Domain. They help large domains stay structured while limiting access to specific assets and users.
Create a Subdomain
-
Navigate to Domain Management
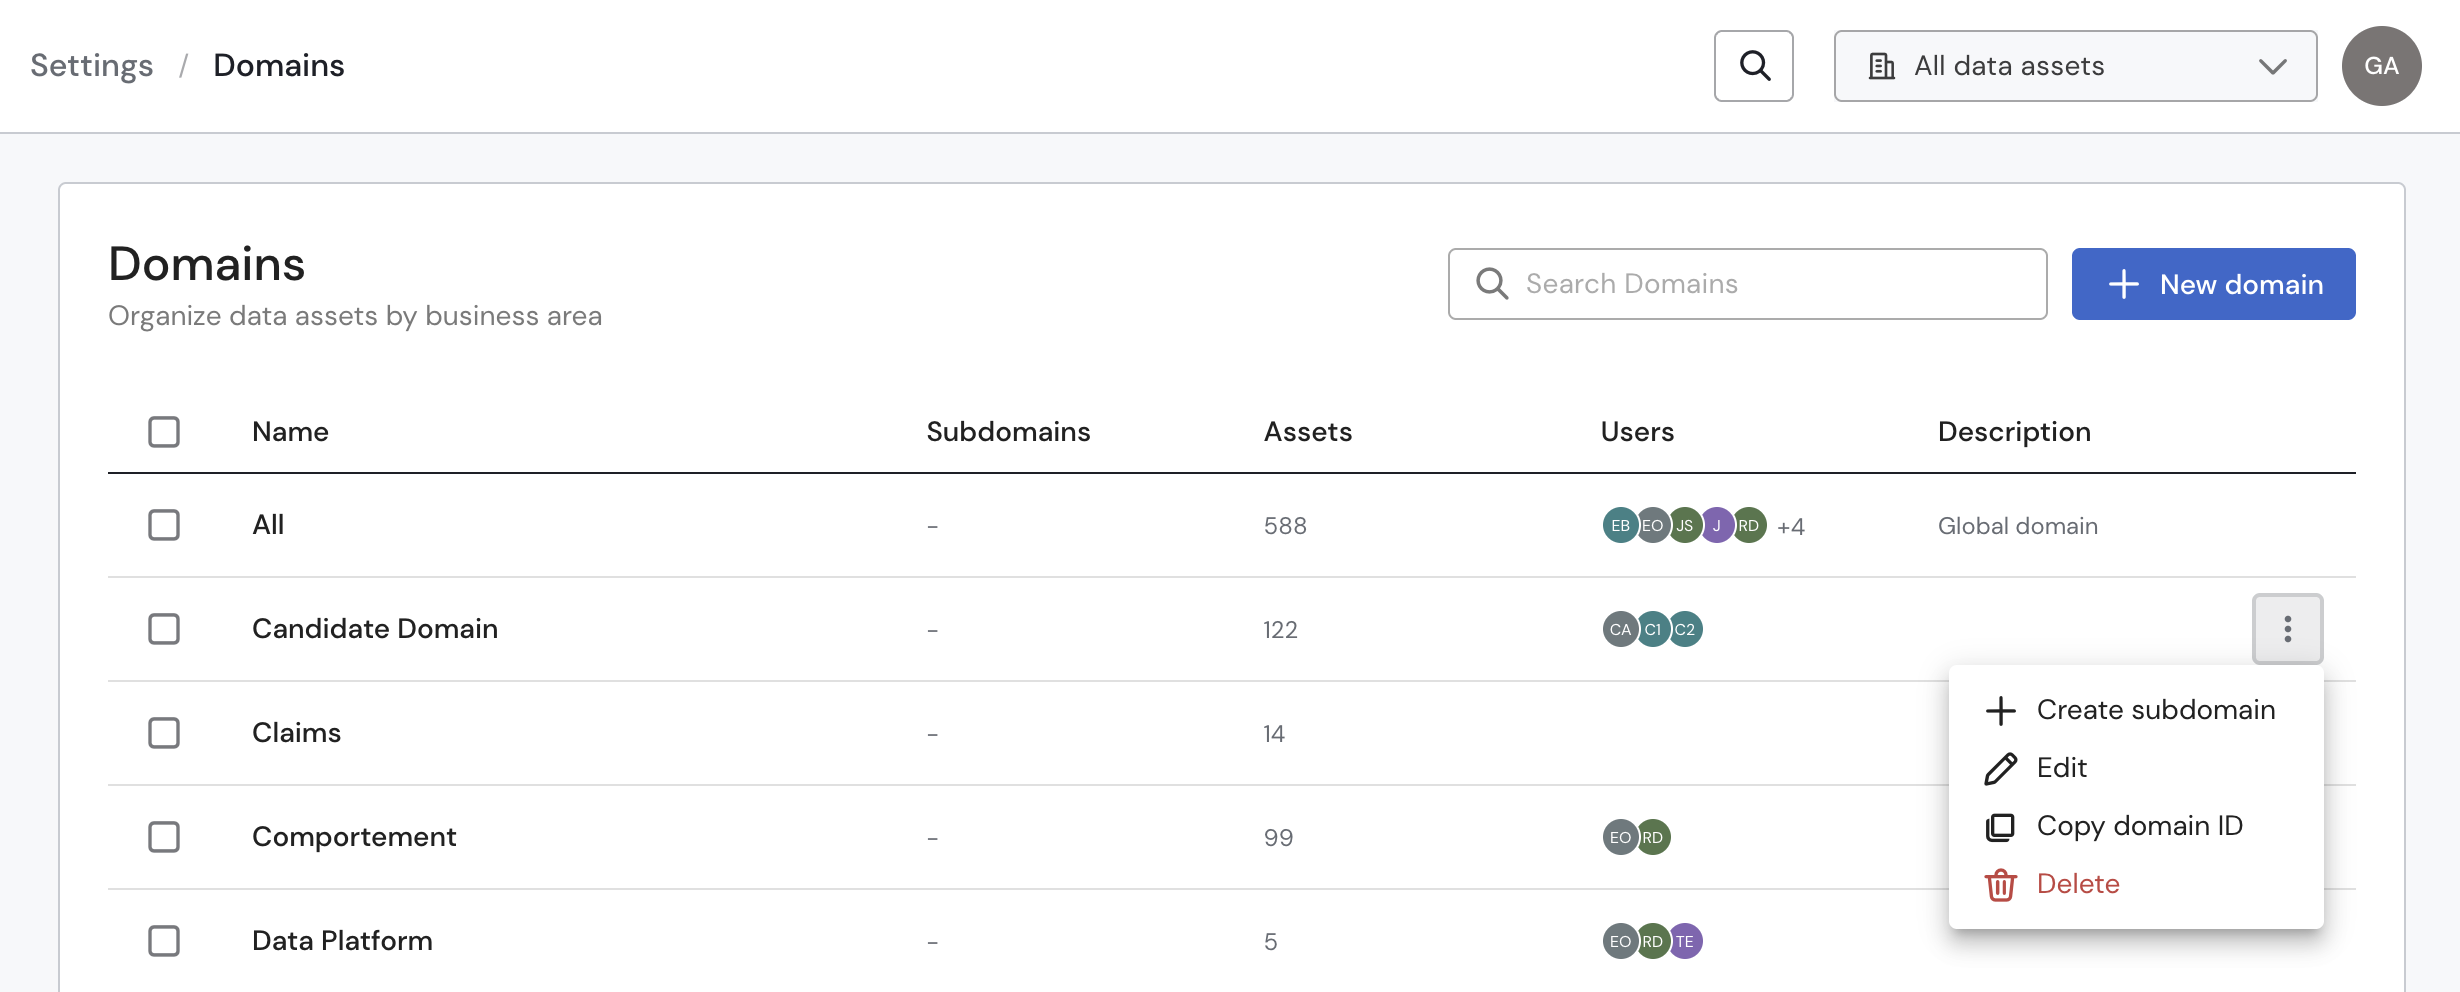
- Open the Domains management page.
- In the Parent Domain where you want to create a subdomain, click the three-dot menu and select Create subdomain.
-
Configure the Subdomain
-
Name: Enter a clear and descriptive name.
-
Description (optional): Add details about the subdomain’s purpose or scope.
-
Add Assets: Choose how to add assets—via filter conditions or by selecting data assets manually.
Note: A subdomain can only include assets already belonging to the Parent Domain. -
Add Users: Search for users and assign their roles (e.g., Viewer, Editor) within the subdomain.
-
-
Save
-
Click Save.
Your new subdomain will appear immediately under its Parent Domain.
-
Edit a Subdomain
To edit an existing subdomain:
- Go to the subdomain.
- Click the three-dot menu and select Edit.
- Make the necessary changes.
- Click Save subdomain.
Subdomains can also be used in other settings such as Access Tokens, SSO, Users, and Sifflet Access.
Navigation & Display Behavior
-
Domain Switching:
Users can switch between their assigned Domains and Subdomains using the dropdown menu at the top of all Sifflet pages.
-
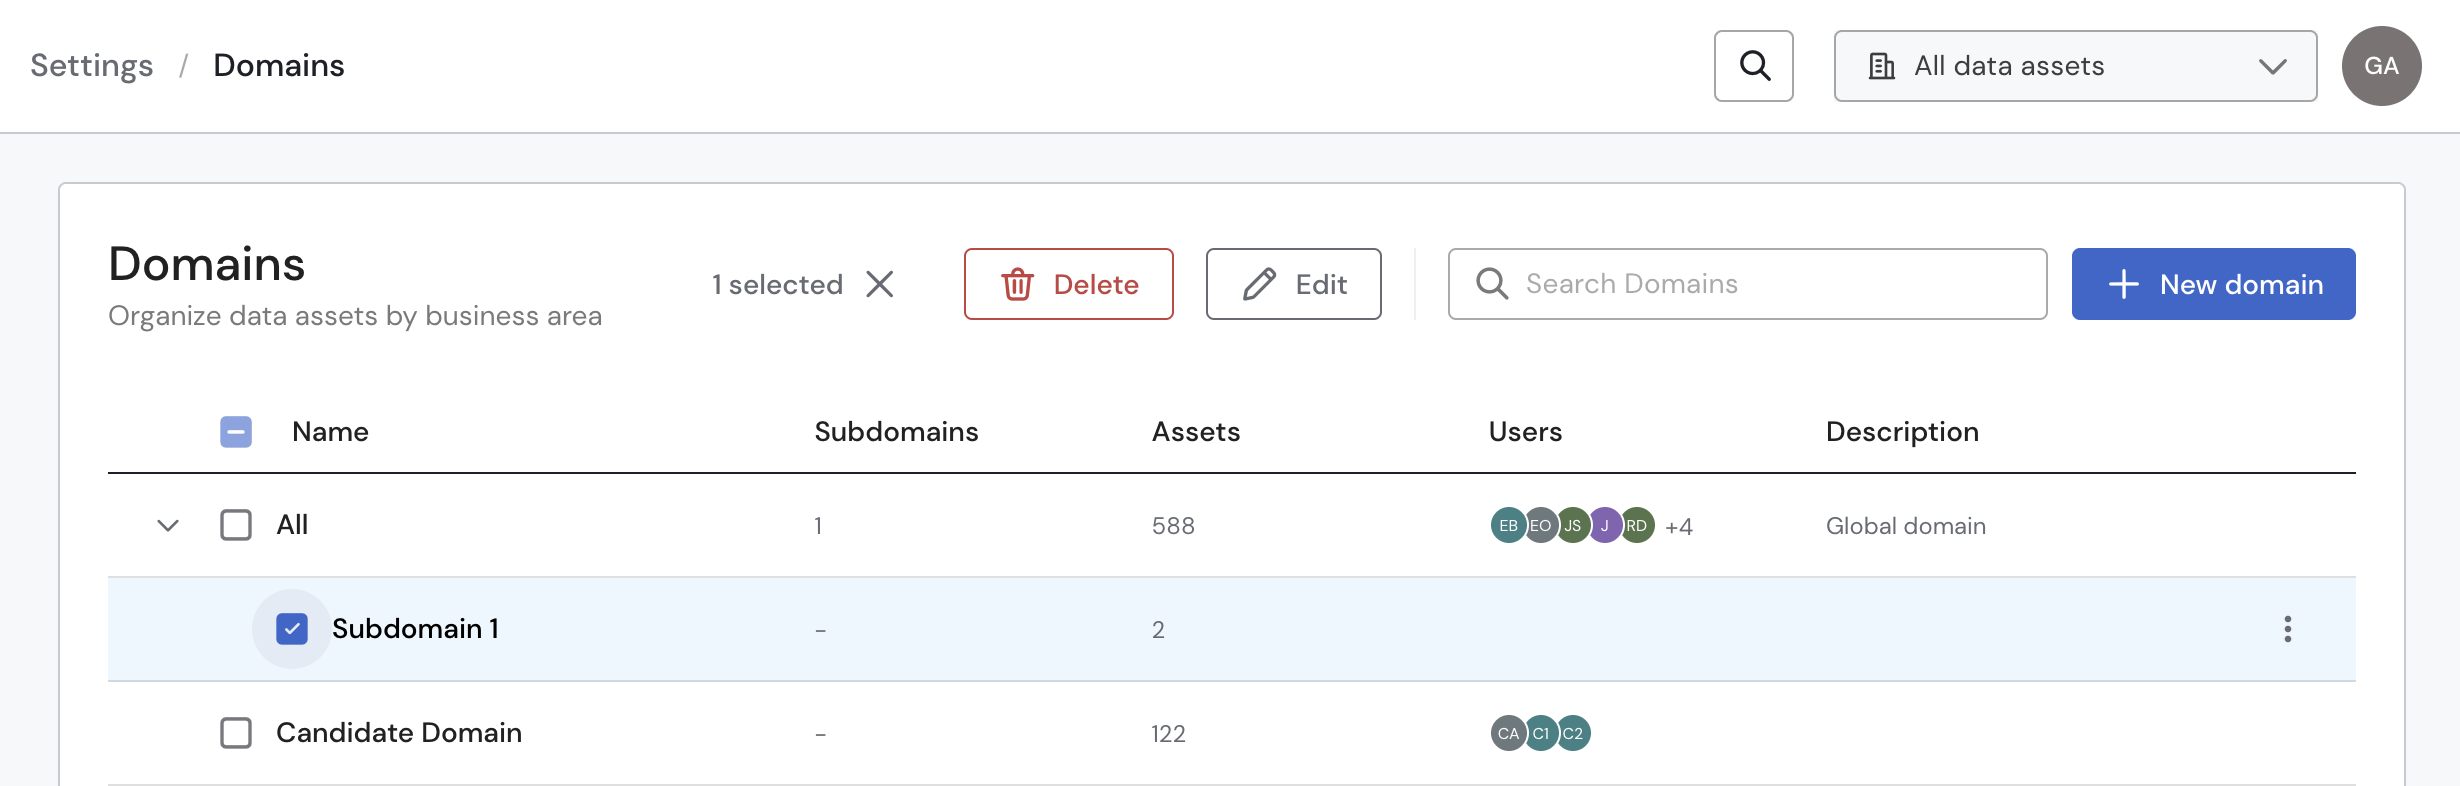
Restricted Access View:
If a user only has access to a subdomain (e.g., Subdomain 1):
- They will see the Parent Domain in the hierarchy, but it will appear as restricted.
- They cannot access or manage the Parent Domain or any sibling subdomains.

Role & Permission Model
- Users can belong to the Parent Domain and multiple Subdomains.
- Roles can differ at each level (e.g., Viewer in Parent Domain, Editor in a Subdomain).
- Access is enforced per asset.
- If a user belongs to multiple subdomains or roles, the highest-permission role is applied.
- Roles may vary across different subdomains (Editor in A, Viewer in B, etc.).
Updated 8 months ago