Google SSO
This article shows how to configure Google SSO as the identity provider for single sign-on (SSO) on Sifflet.
In order to set up the SSO in Google, please follow the following steps:
- Configure your Identity Provider (IdP)
- Configure the SSO in Sifflet
- Test your SSO
RequirementsIn order to enable the SSO in Sifflet, you will need:
- a Sifflet admin account
- a Google admin account with the same email address as the one used in Sifflet
1- Configure your Identity Provider
The configuration of your IdP is done with the following steps:
a. Log in to Sifflet and retrieve some SSO details
b. Add the Sifflet App in Google
a. Retrieve the SSO details in Sifflet
- Connect to Sifflet with an Admin Account
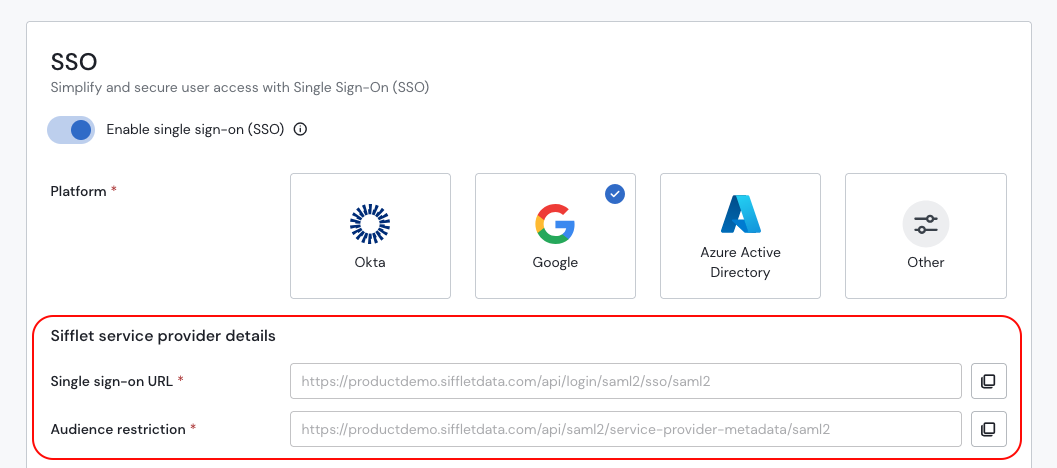
- In Settings -> SSO
- Toggle "Enable Single Sign-On (SSO)"
- Choose your Platform (Google here)
- Save the information under "Sifflet Configuration", you will need it in the next section.
b. Add the Sifflet App in Google
- Log in to Google Admin
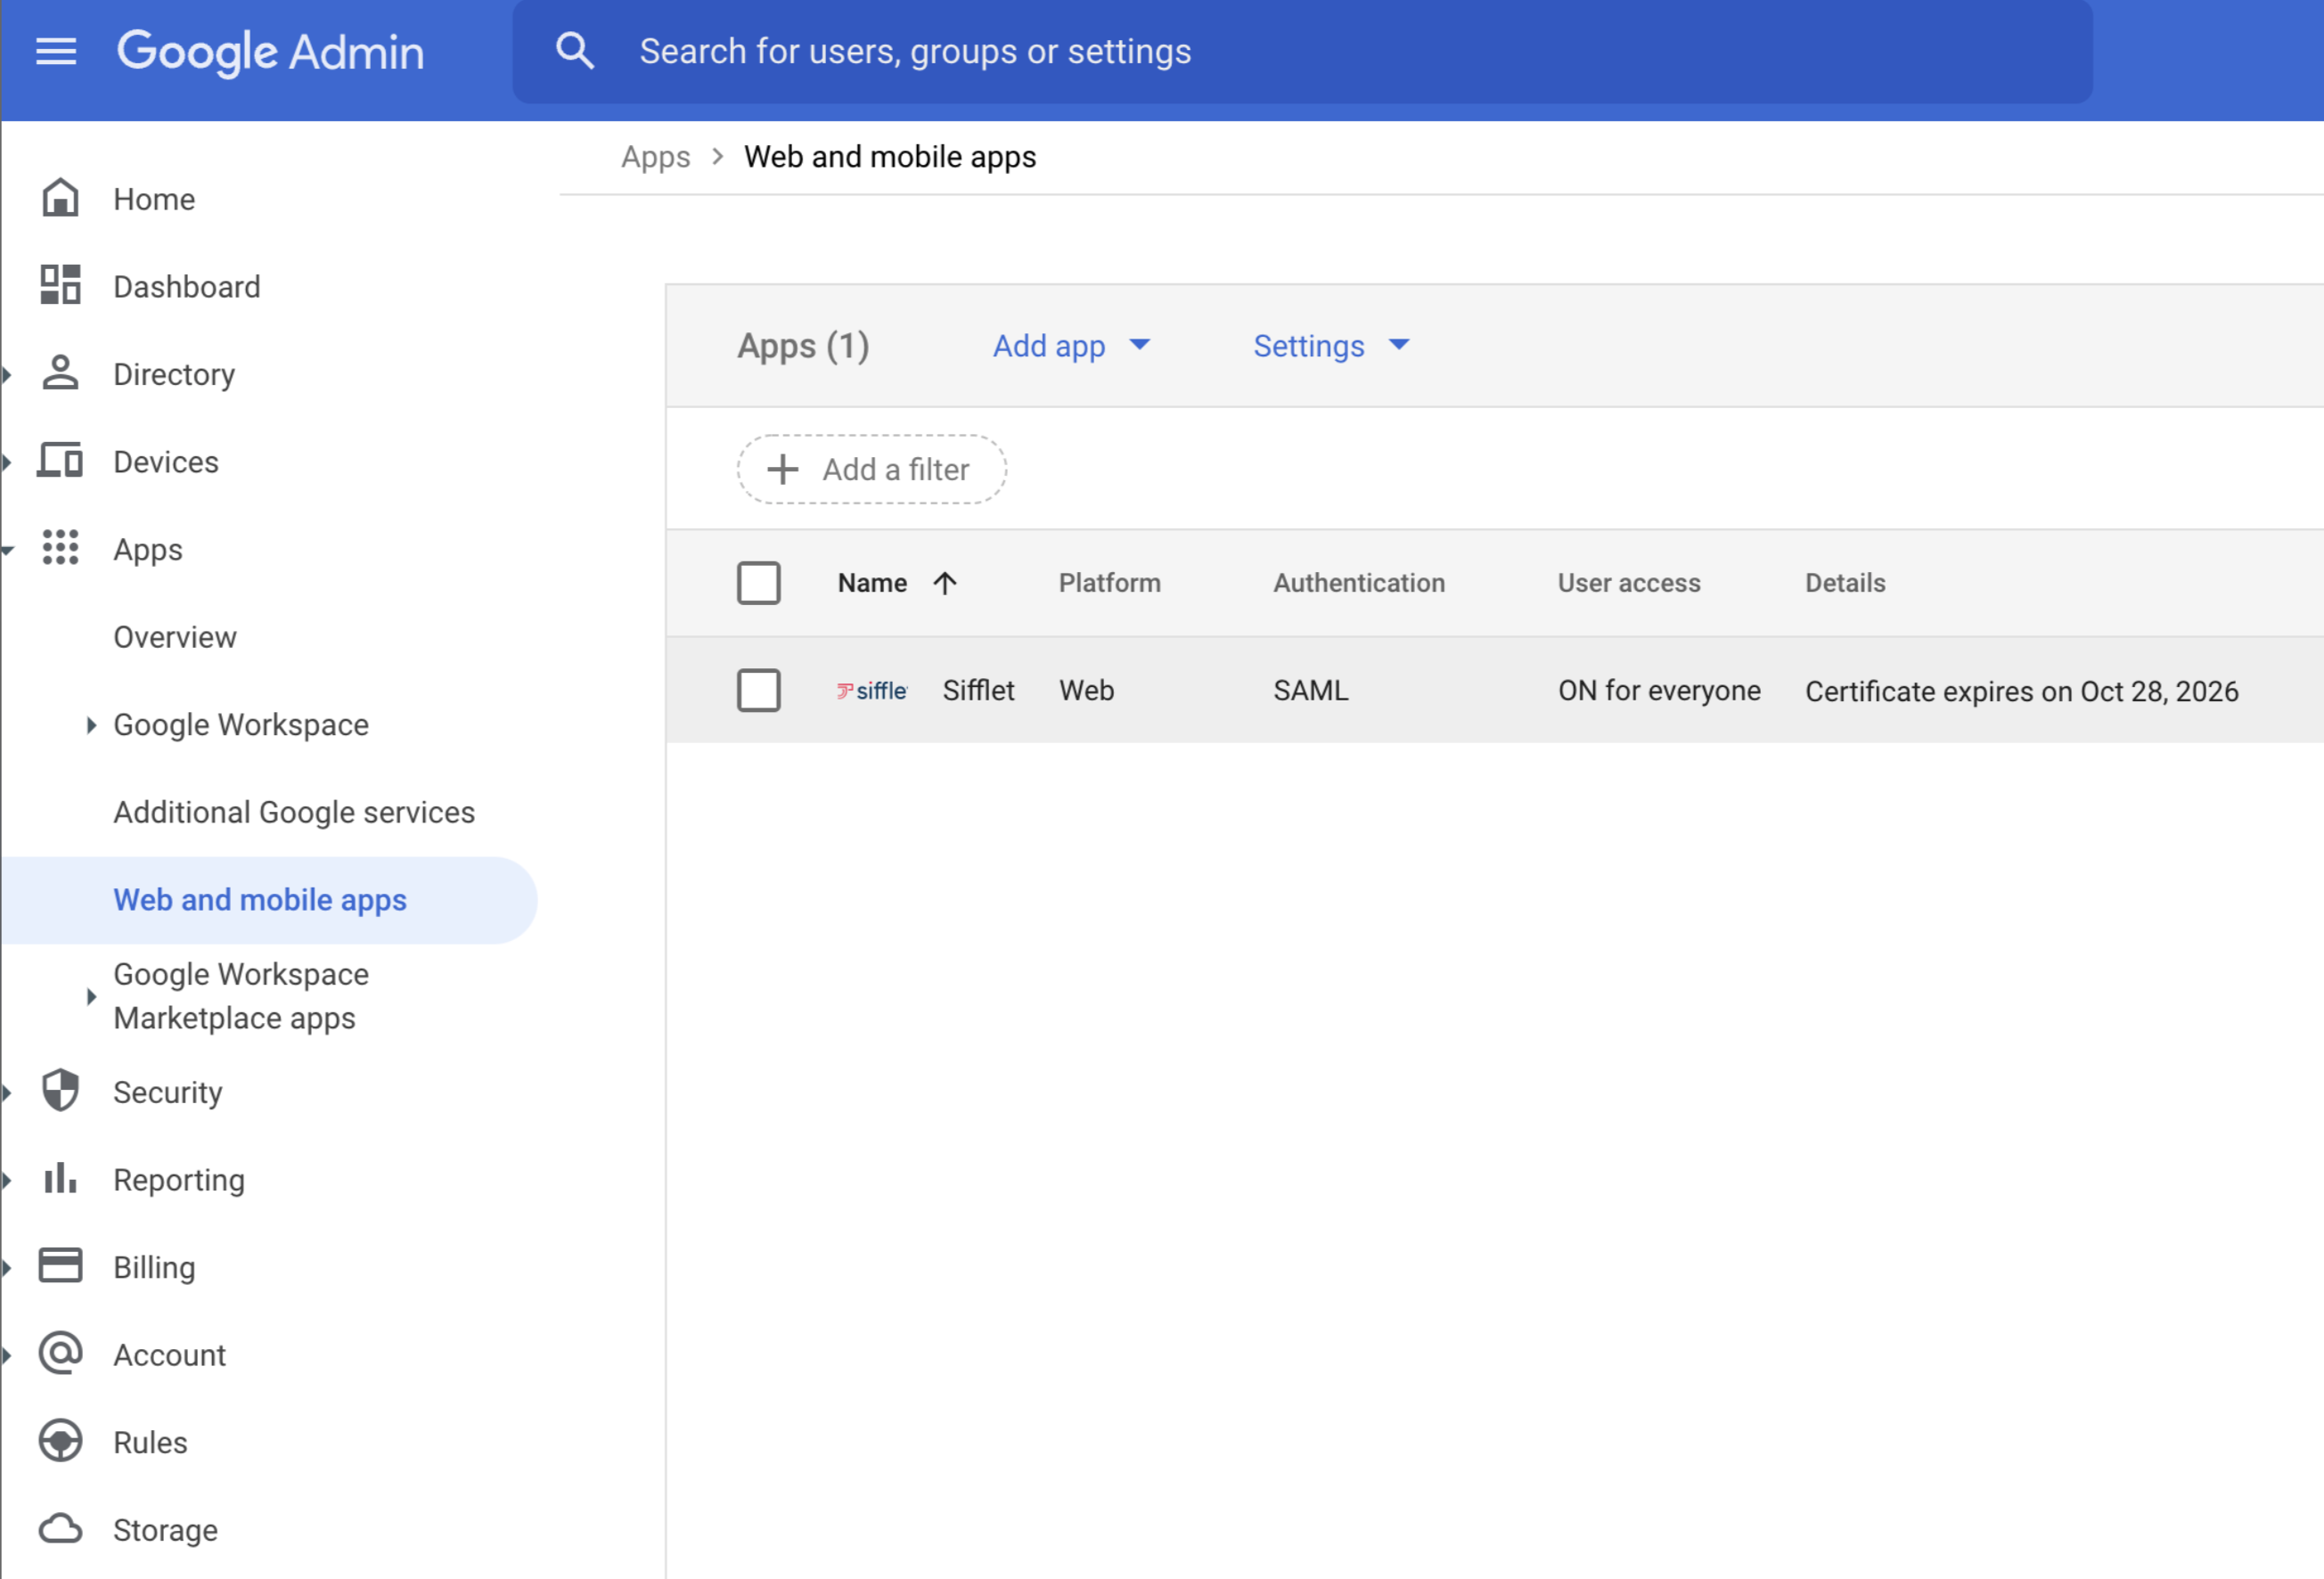
- In Apps -> Web and mobile apps, create a new App
- On the next screen, you can add the App name, for instance "Sifflet"
- On the "Service Provider details" screen, you will need to report the information saved from the last section:
ACS URL: corresponds to the link inSingle Sign on URLon SiffletEntity ID: corresponds to the link inAudience Restrictionon Sifflet
- On the next screen, no mapping is needed for now.
You should now see your Sifflet App in the Web and mobile screen
2- Configure the SSO in Sifflet
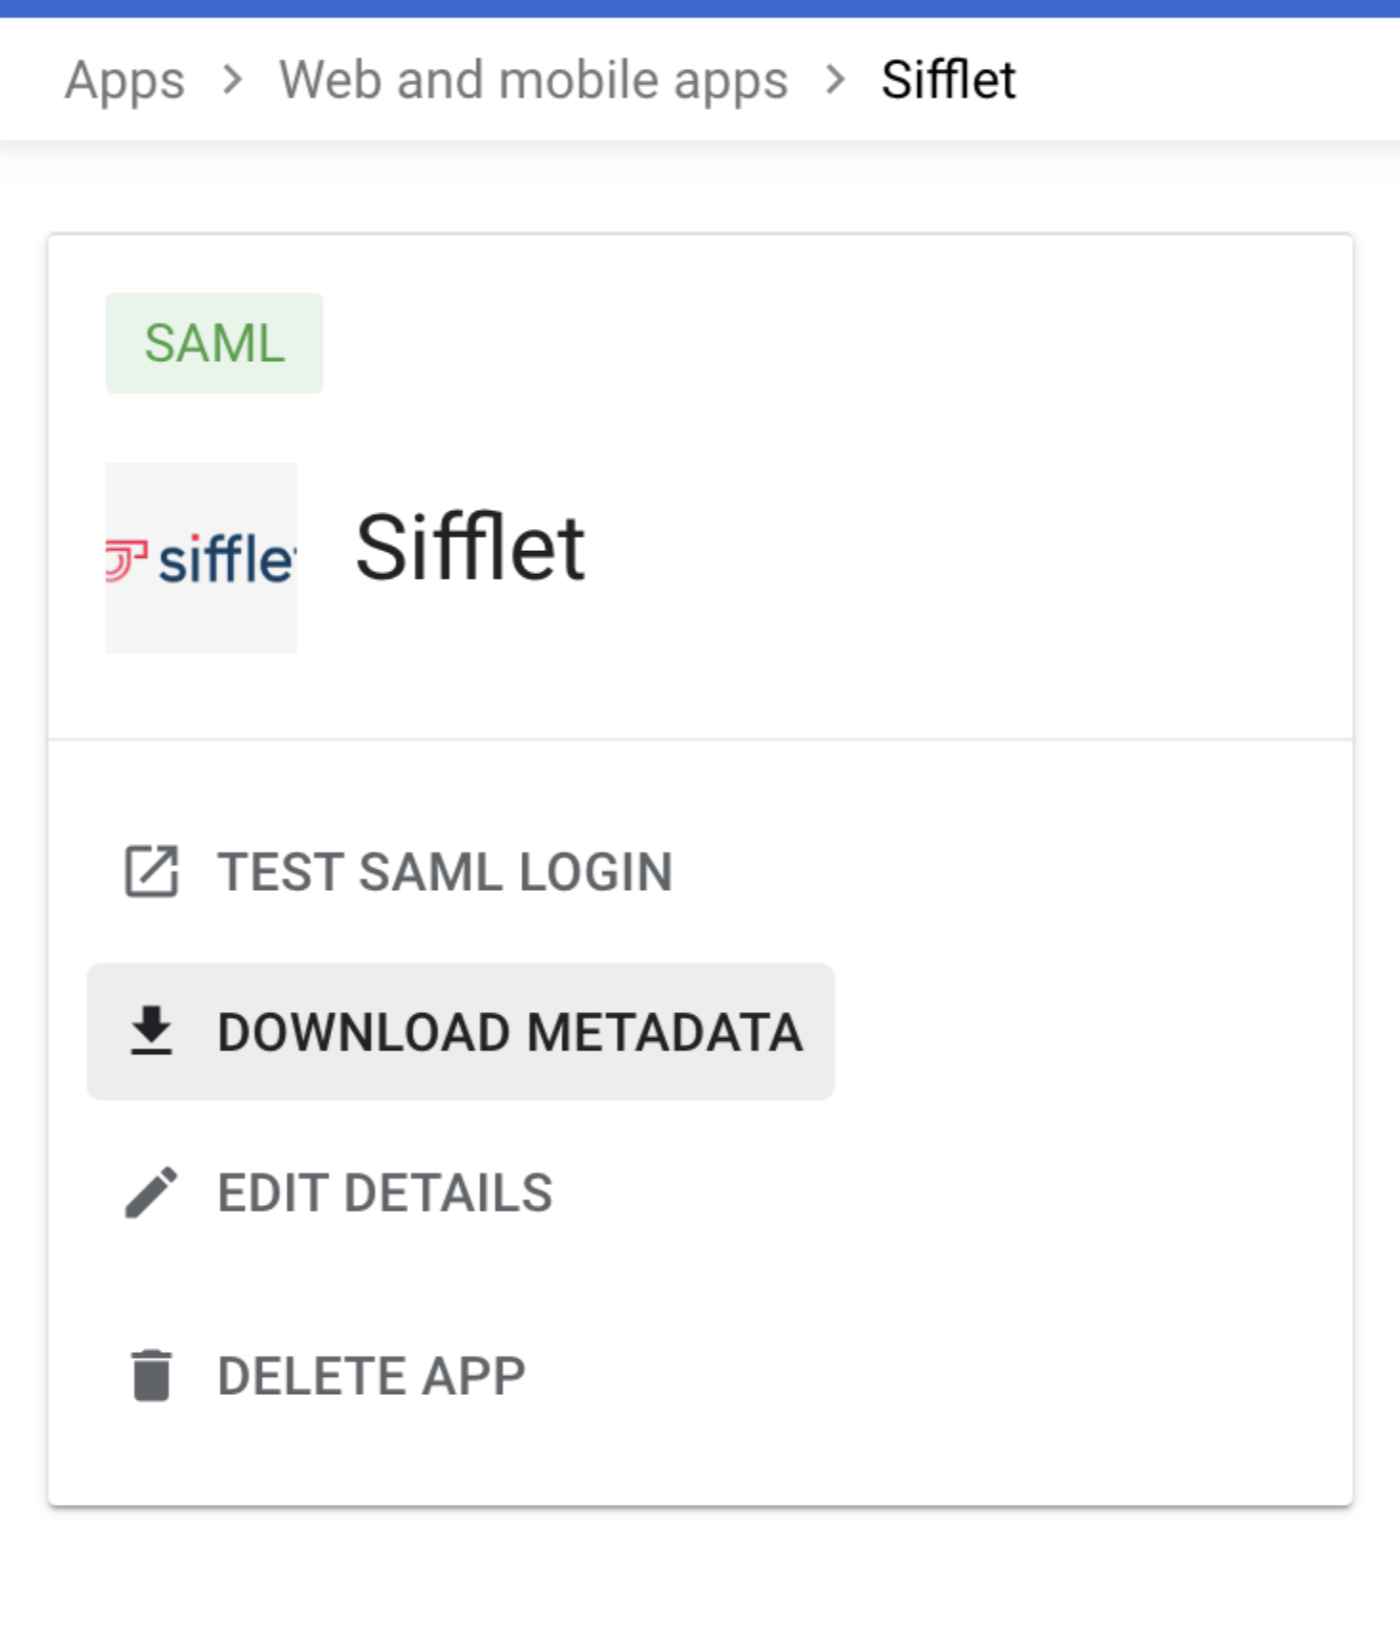
- In Google Admin, in the newly created Sifflet App, click on "Download Metadata"
- You will then need to report the following information in Sifflet SSO's page:
SSO URLEntity IDCertificate
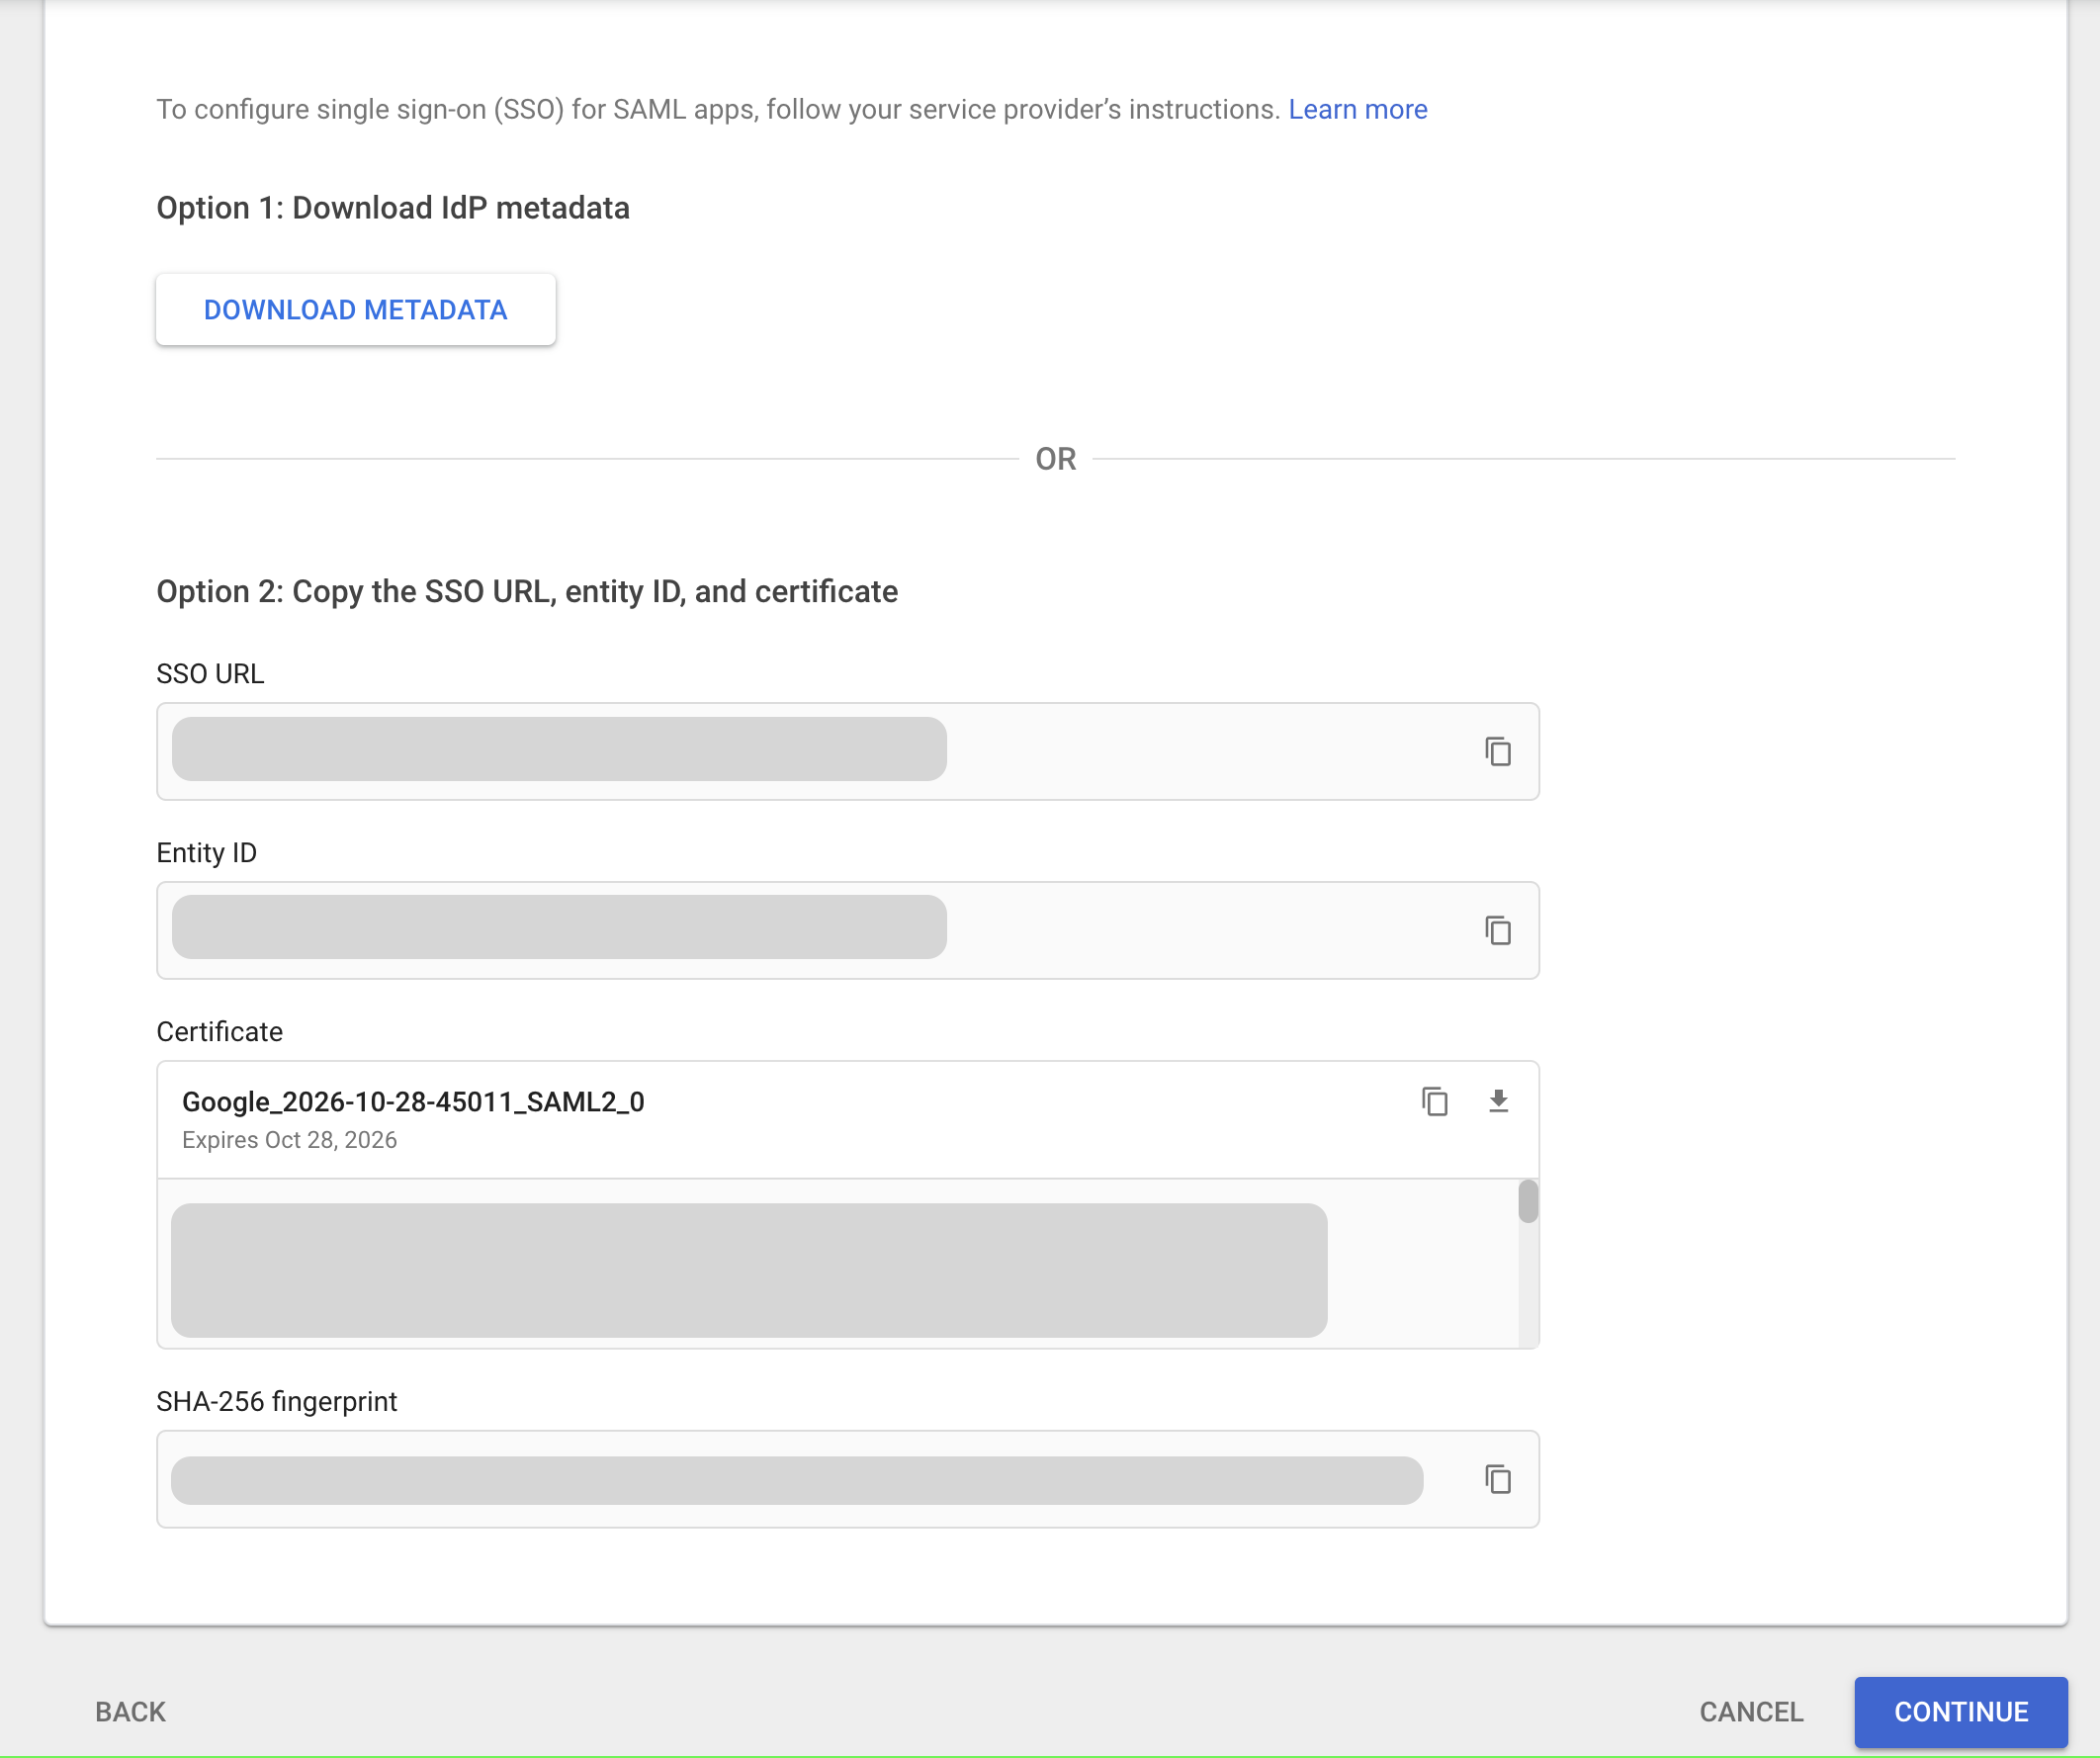
SSO details in Google Admin
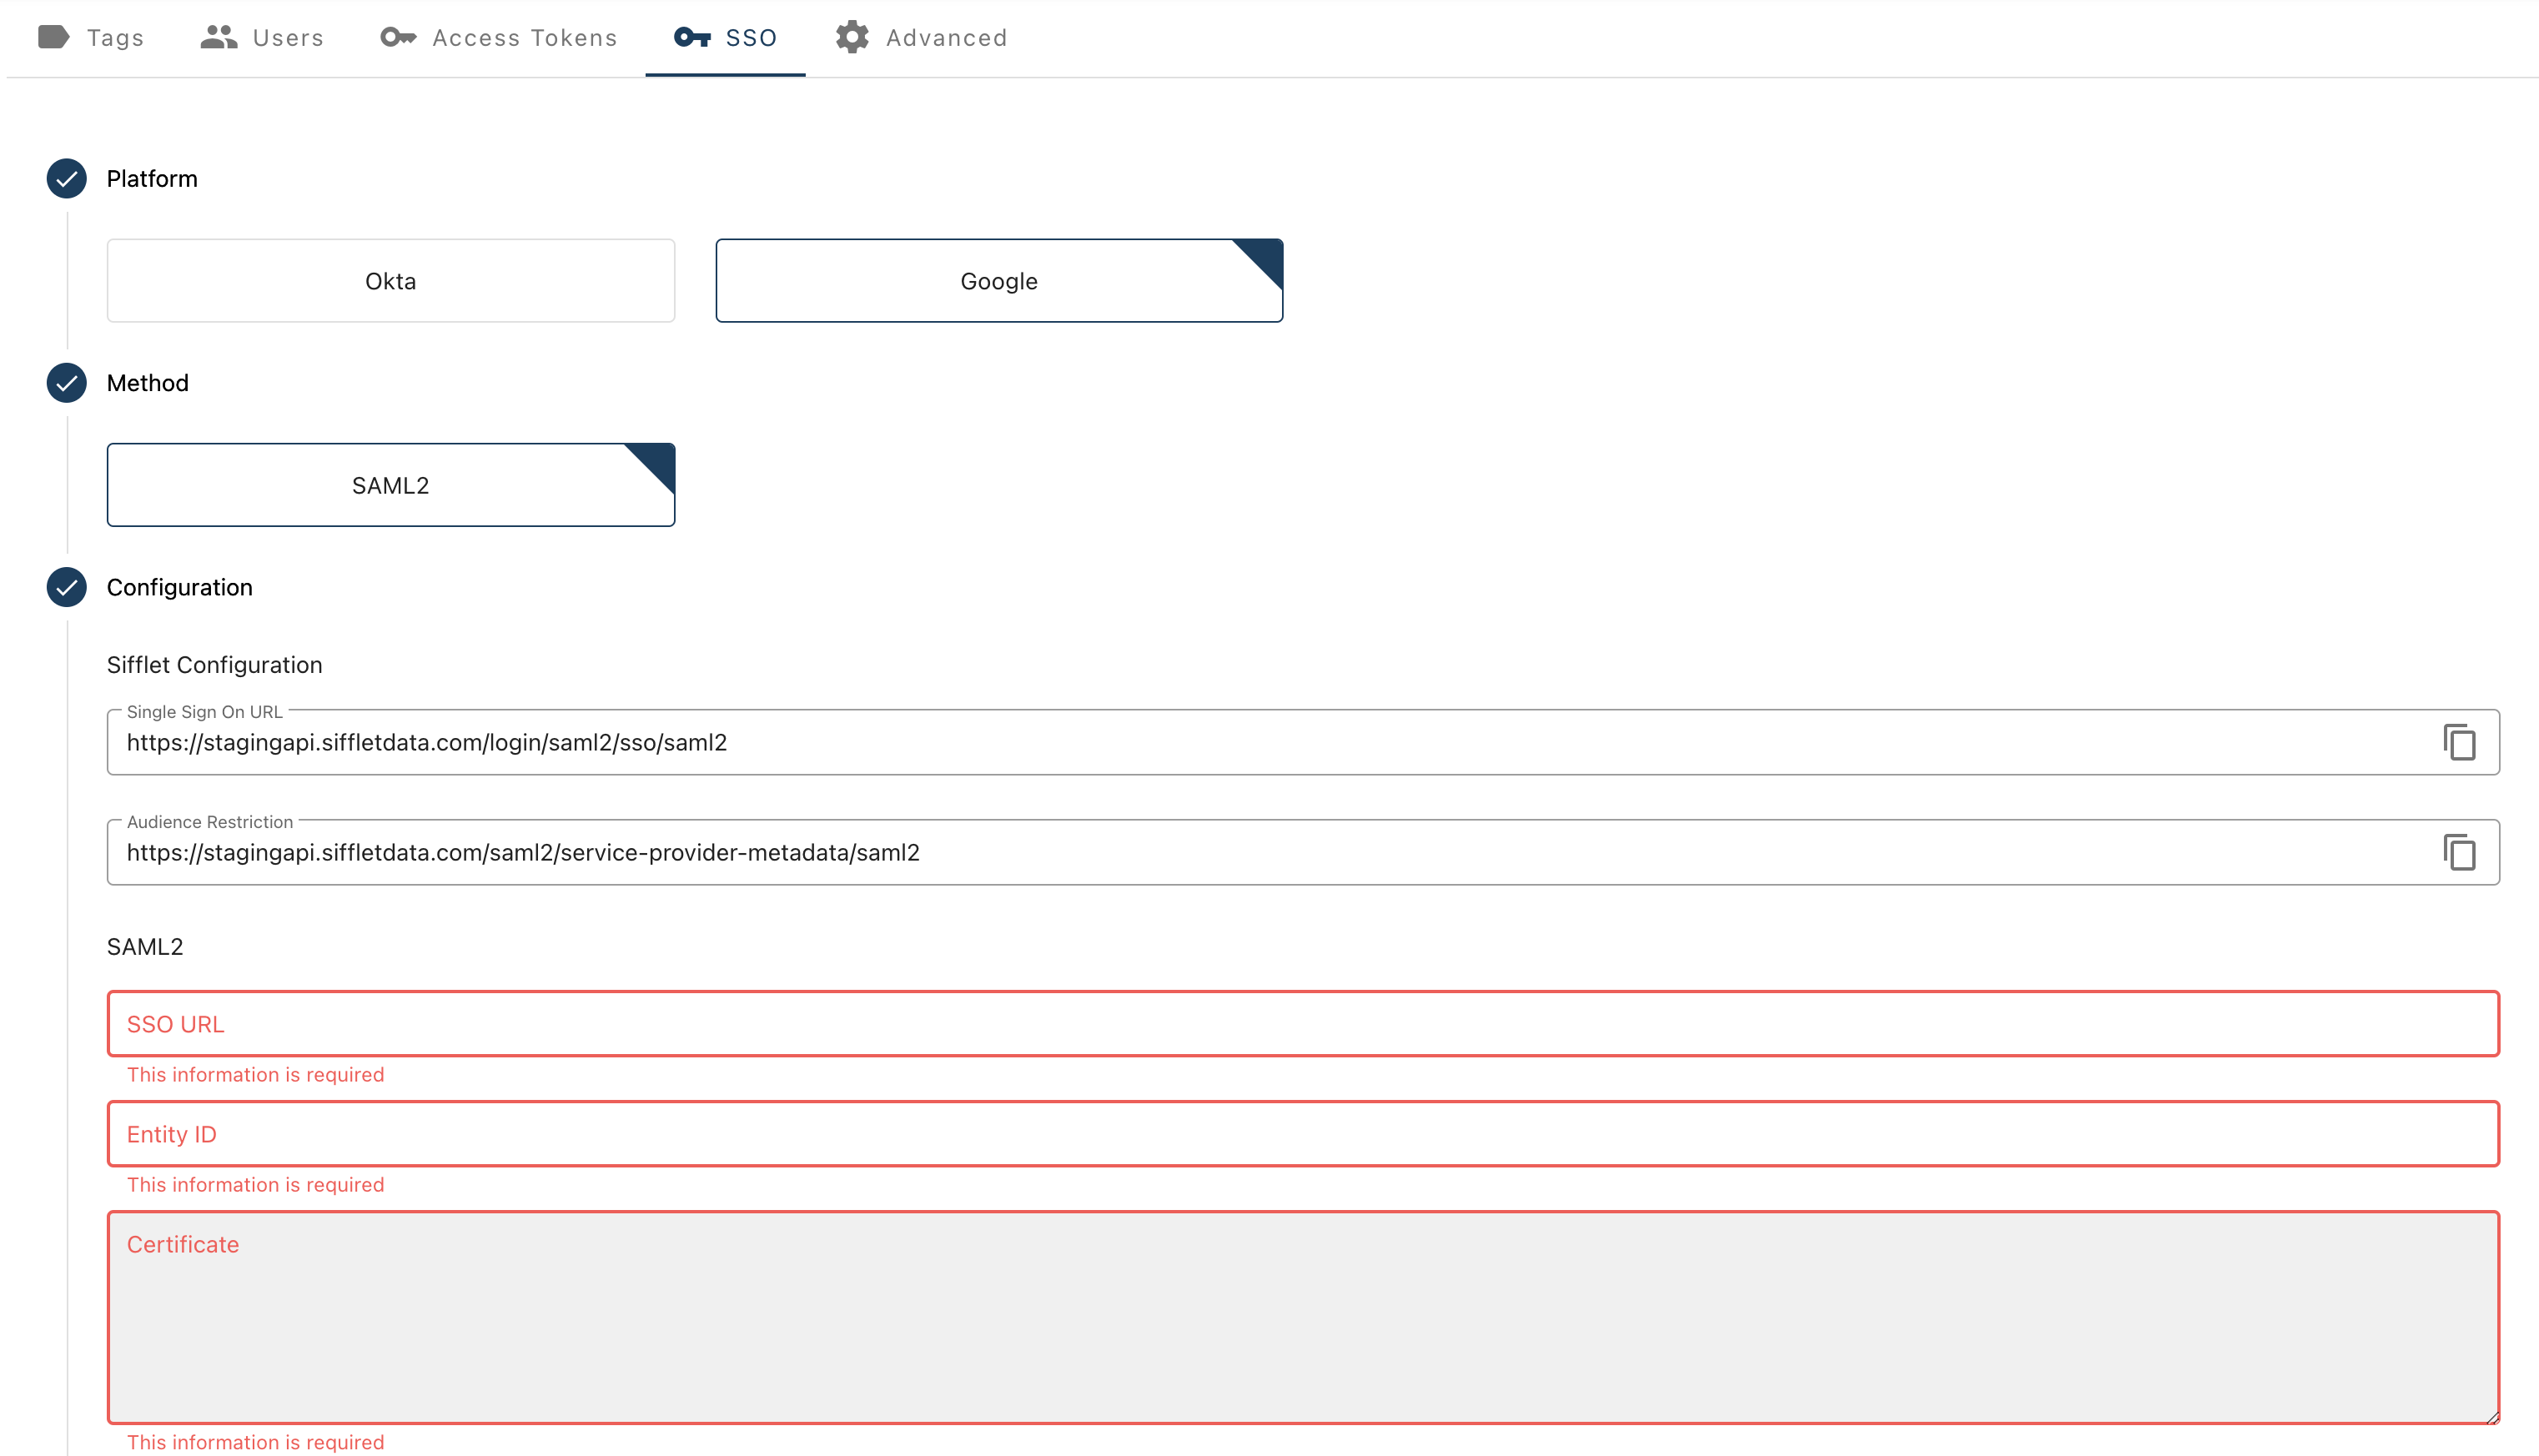
Report the information from Google Admin here
- Test your SSO
- You can now test your SSO by pressing the "Test" button on the bottom right of the page

- If successful, don't forget to press on "Save" to effectively activate the SSO.
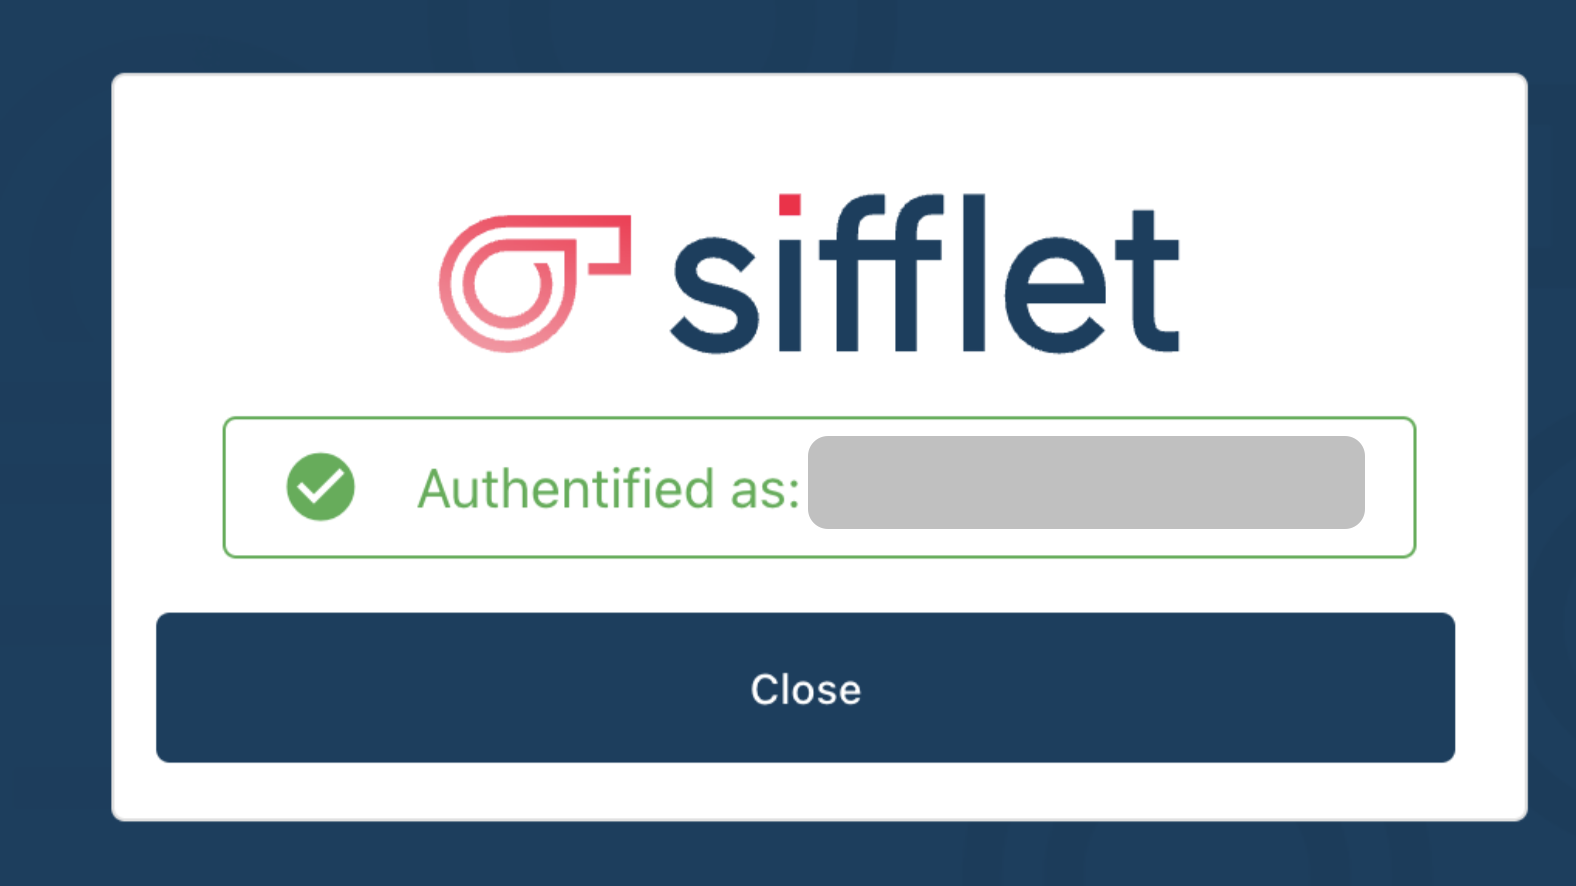
The configuration is done !
On your next login, you will see the following login screen:

Updated 3 months ago
