

Microsoft Teams
Overview
Sifflet integration for Microsoft Teams allows you to receive notifications in case of data quality issues on your most critical tables.
Manage the Integration
Configure Channels
To set up the integration, follow these steps:
- You first need to create a workflow for your channels in Teams. Microsoft's official guidelines on how to do so are available here.
- Go to your Microsoft Teams application
- On the left side of Teams, click the
Teamsentry to view your teams and channels. - Right-click the name of the channel you want to send notifications to on the left sidebar. Alternatively, click the channel of interest and click the three-dot button on the top right-hand corner of the application.
- Click the
Workflowsentry of the dropdown menu. - Type "webhook" in the search bar and click on the
Post to a channel when a webhook request is receivedTemplates result. - Give your workflow a name such as "Sifflet Data Quality Alerts"
- Ensure that you are signed in to Microsoft Teams.
- Click
Next. - Select the Teams team and the Teams channel where you want the workflow to run.
- Click
Add workflowto add the workflow to the channel. - Copy the URL displayed on the following screen. You need it in your Sifflet application.
- Go to your Sifflet application to configure an alert destination with the freshly created URL.
- Hover over the
Settingsentry of the sidebar and click theCollaboration Toolsentry. - Scroll down to find the Microsoft Teams integration card.
- If not done already, click the toggle button to enable the Microsoft Teams integration.
- Add the name of your Teams channel in the
Channel namefield. - Copy and paste the freshly created URL in the
Incoming webhook URLfield. - Click the
Send test notificationbutton to confirm your Teams channel is able to receive notifications from Sifflet. - Click the
Add webhookbutton to save the configured channel.
- Hover over the
- You can now use this webhook in Sifflet notification rules to receive notifications on your Teams channel when a data quality issue is detected.
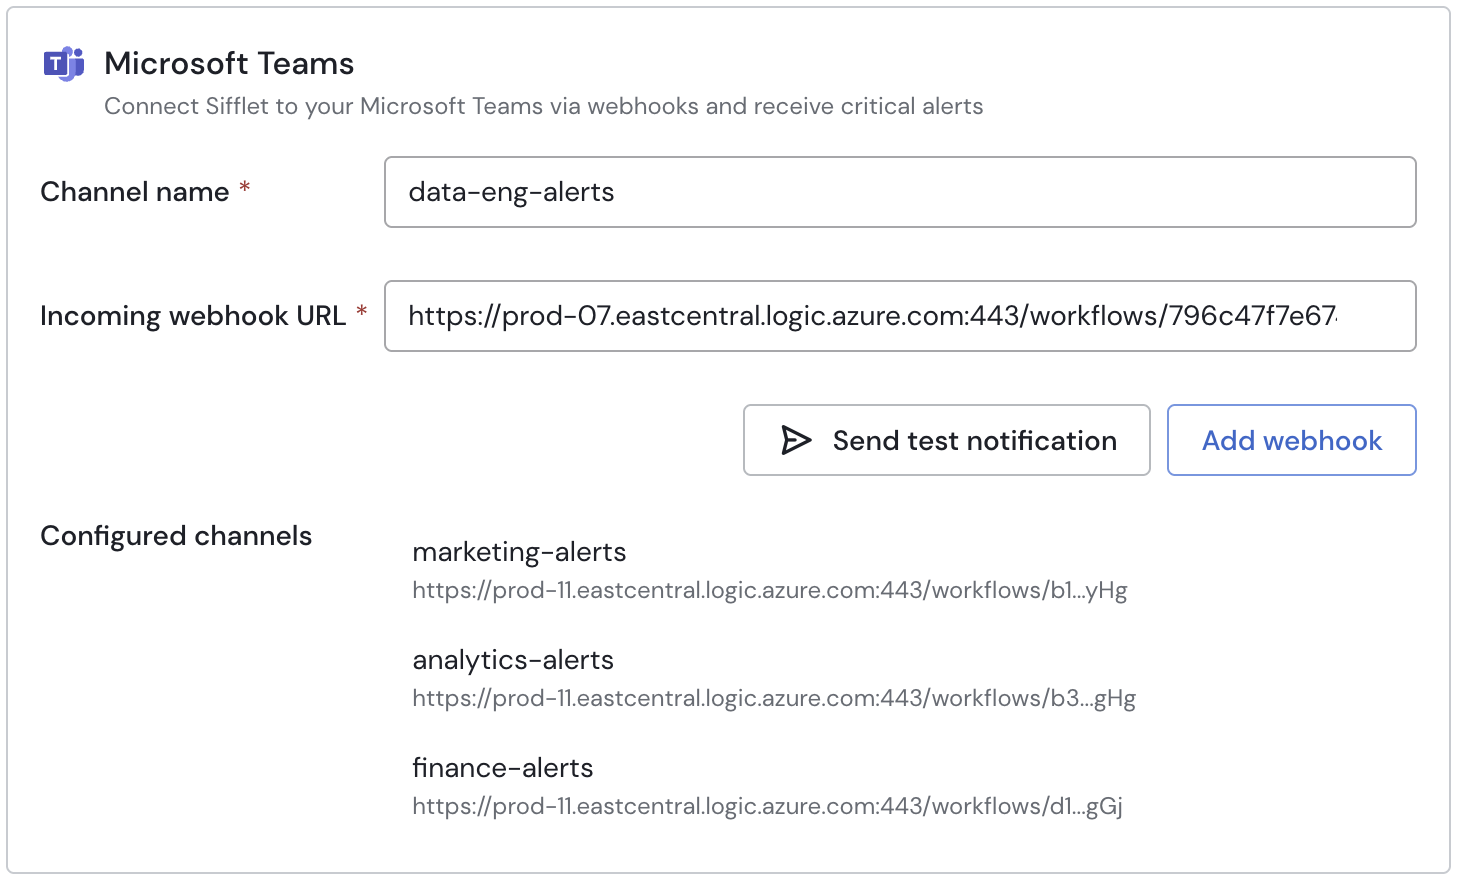
Configure Channels
Configure Private Channels
Because Power Automate workflows don't yet support flow bots posting messages to "Private" Teams channels (flow bot is the default posting method used by the Post to a channel when a webhook request is received template when creating a workflow), a workaround is to slightly change your workflow to allow Sifflet to post messages to private channels.
To do so, follow these steps:
- Go to the
Workflowssection of your Teams application - Click on the name of the flow you created for Sifflet
- Click the
Editbutton at the top of the page - Click the
Send each adaptive cardtile - Click the
Post card in a chat or channel - Change the value of the
Post asparameter fromFlow bottoUser - Click
Save - You should now be able to use this webhook in Sifflet notification rules to receive notifications on your Teams private channel when a data quality issue is detected.
Send Test Notification
Once you have configured your Microsoft Teams channel, you can hover over its name and click the paper airplane icon to send a test notification.
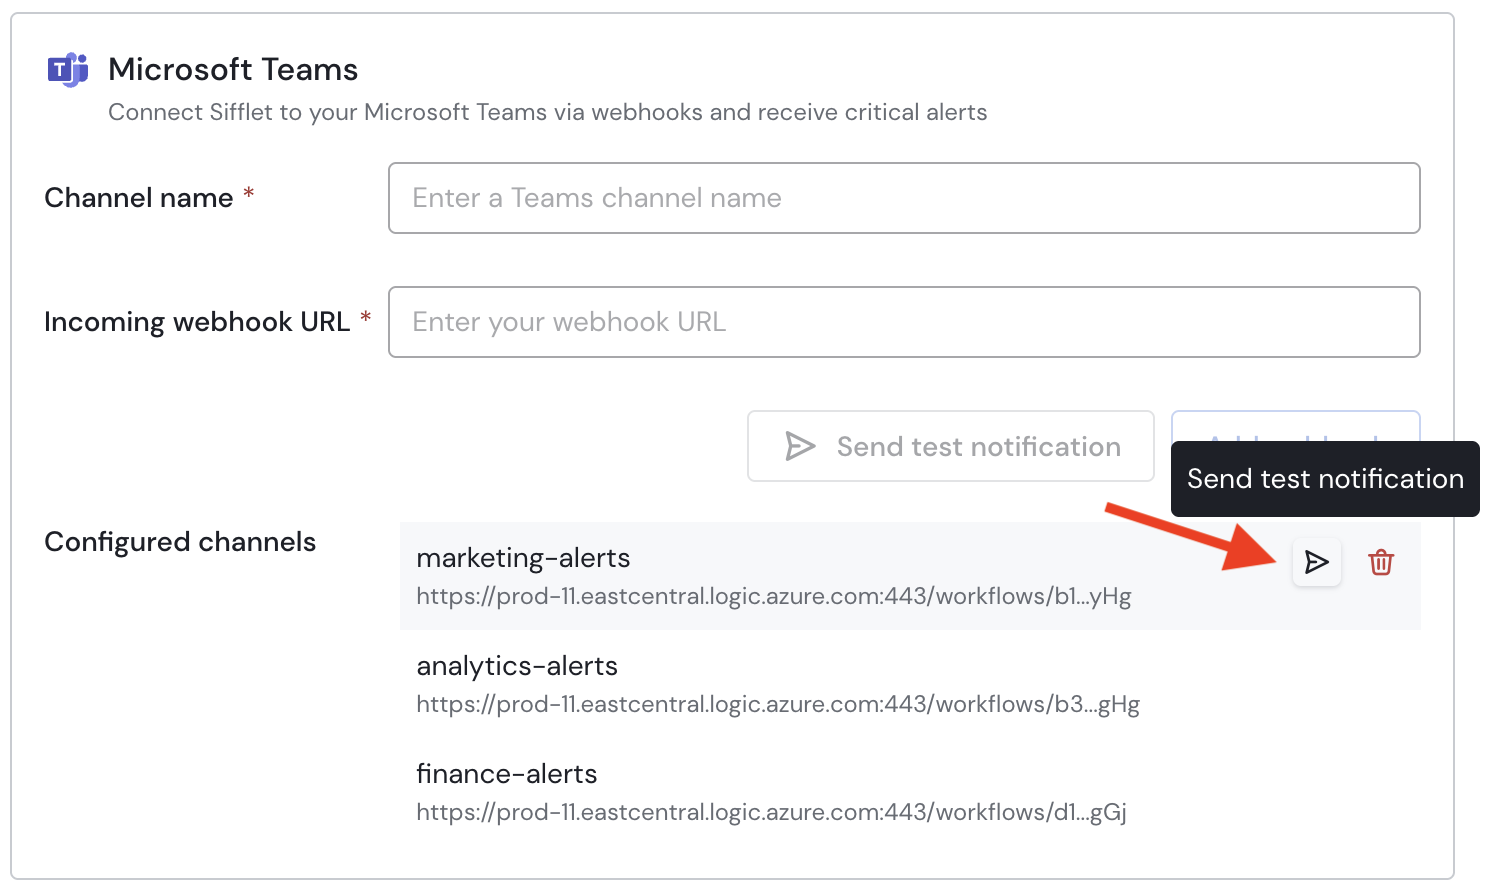
Send Test Notification
This can help you confirm whether or not Sifflet is able to properly send notifications to your configured Teams channel.
Delete Configured Channels
To delete a configured Microsoft Teams channel, hover over the name of your channel, and click the red garbage icon.
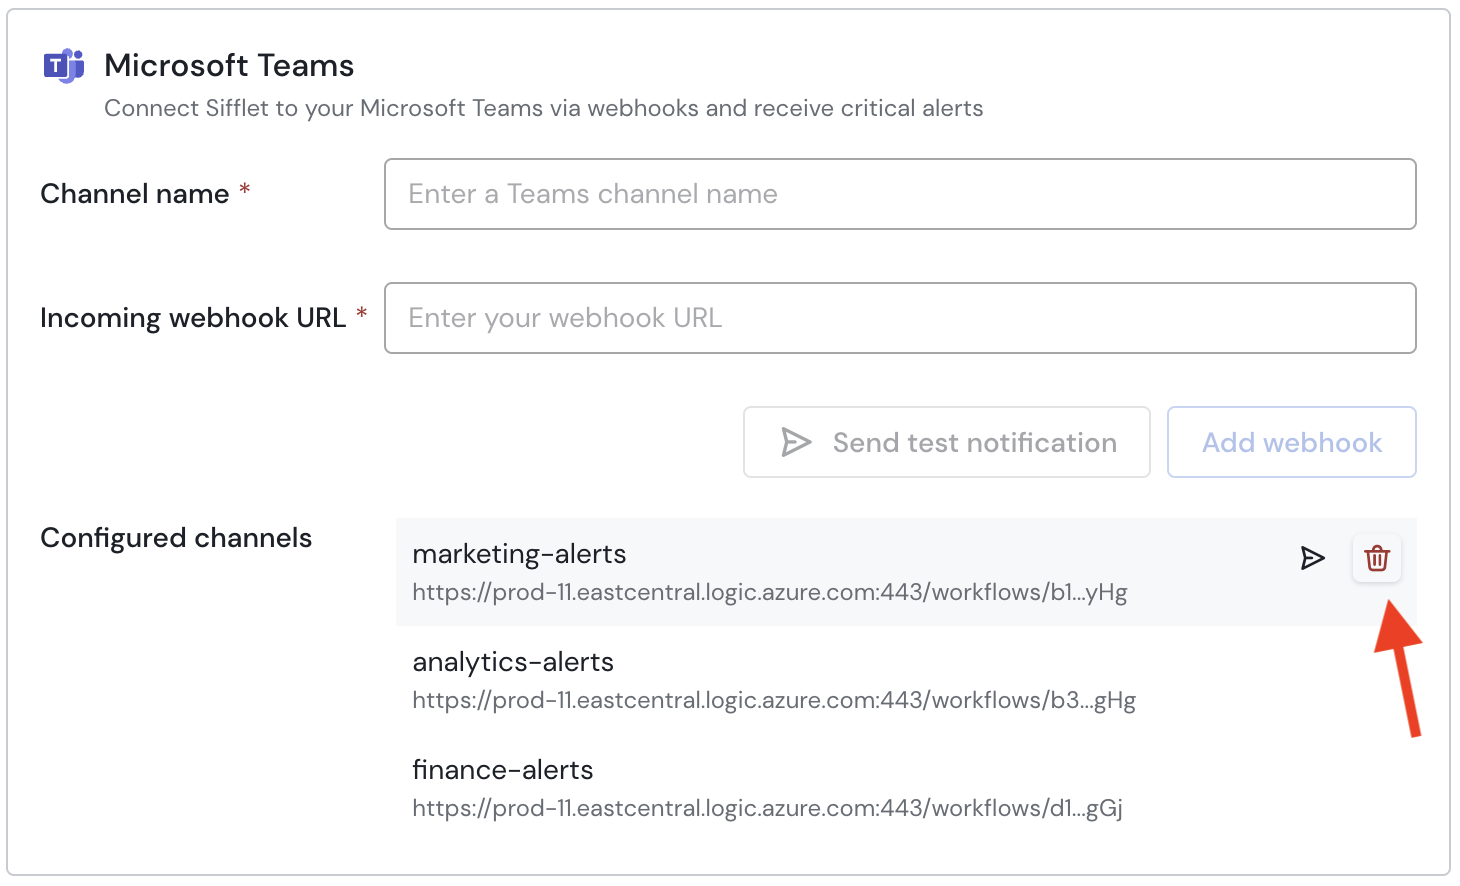
Delete Configured Channel
Removing a configured Teams channel will automatically remove it from all notification rules and monitors it is currently attached to.
Use Channels in Notifications
Once you have configured your Microsoft Teams channels, select them as destinations in a notification rule to receive notifications about incidents and monitors. If a single monitor needs different destinations, you can override the rules from the monitor's notification settings. See Monitor notifications.
To learn which messages Sifflet posts to Teams, see Microsoft Teams notification messages.
Updated 21 days ago