Azure Data Factory ᴮᴱᵀᴬ
Integrate Azure Data Factory (ADF) with Sifflet to gain comprehensive visibility into your data orchestration. This integration ingests ADF assets into the Sifflet Catalog, allowing you to monitor pipeline status, view operational metadata, and centralize your data observability strategy.
Coming Soon
We are actively enhancing the ADF integration. Look out for these upcoming features:
- Granular Lineage: Visualize asset-level lineage to understand exactly which datasets are consumed and generated by every ADF pipeline.
- Pipeline Alerting: Receive real-time notifications via Slack, Microsoft Teams, or Email whenever a pipeline fails.
Before configuring the integration, ensure you have the following:
- Admin access to your Sifflet instance.
- Permissions in the Azure Portal to create App Registrations and manage IAM (Identity and Access Management) for the target Resource Group.
Step 1: Azure Configuration
To allow Sifflet to read metadata from ADF, you must create a Service Principal (App Registration) and assign it a custom role with specific read permissions.
1.1 Create an Azure App Registration
- Log in to the Azure Portal.
- Navigate to Microsoft Entra ID (formerly Azure Active Directory) > App registrations.
- Click + New registration.
- Name the application (e.g.,
sifflet-adf-app). - Click Register.
- Important: Copy the Application (client) ID from the Overview page. You will need this for Sifflet.
- Navigate to Certificates & secrets > Client secrets.
- Click + New client secret. Add a description and expiry.
- Important: Copy the Client Secret Value immediately. You will need this for Sifflet.
1.2 Create a Custom Role
To adhere to the principle of least privilege, create a custom role with only the necessary read permissions.
- Navigate to Resource groups and select the Resource Group containing your Data Factories (e.g.,
MyAdfResourceGroup). - In the left panel, click Access control (IAM).
- Click + Add > Add custom role.
- Name the role (e.g.,
sifflet-adf-role). - In the Permissions tab, click + Add permissions. Search for and add the following permissions (all under the Microsoft Data Factory group):
- Read Data Factory:
Microsoft.DataFactory/factories/read - Read Pipeline:
Microsoft.DataFactory/factories/pipelines/read - Read the Result of Query Pipeline:
Microsoft.DataFactory/factories/querypipelineruns/read - Read any Dataset:
Microsoft.DataFactory/factories/datasets/read - Read Linked Service:
Microsoft.DataFactory/factories/linkedServices/read
- Read Data Factory:
- Review and click Create.
1.3 Assign the Role
- Stay in the Access control (IAM) section of your Resource Group.
- Click + Add > Add role assignment.
- Search for and select the custom role you just created (
sifflet-adf-role). Click Next. - Under Assign access to, ensure "User, group, or service principal" is selected.
- Click + Select members.
- Search for the application created in Step 1.1 (
sifflet-adf-app) and select it. - Click Select, then Review + assign.
Step 2: Sifflet Configuration
Once the Azure permissions are set, configure the connection within Sifflet.
2.1 Create a Credential
-
In Sifflet, navigate to Integrations > Credentials in the sidebar.
-
Click New credential.
-
Name your credential (e.g.,
my-adf-resource-group-sp). -
In the Secret input, paste the following JSON structure using the values retrieved in Step 1.1:
{
  "clientId": "<client id>",
  "clientSecret": "<the secret of the client id>"
}
2.2 Create the ADF Source
-
Navigate to Integrations > Sources.
-
Click New Source and select Azure Data Factory.
-
Fill in the configuration details:
- Azure AD tenant id: Found in Microsoft Entra ID > Overview.
- Subscription id: Found in the Azure Subscriptions page.
- Resource Group: The name of the group you configured (e.g.,
MyAdfResourceGroup). - Credential: Select the credential created in Step 2.1 (
my-adf-resource-group-sp).
-
Click Load Assets and select the specific Data Factories you wish to monitor.
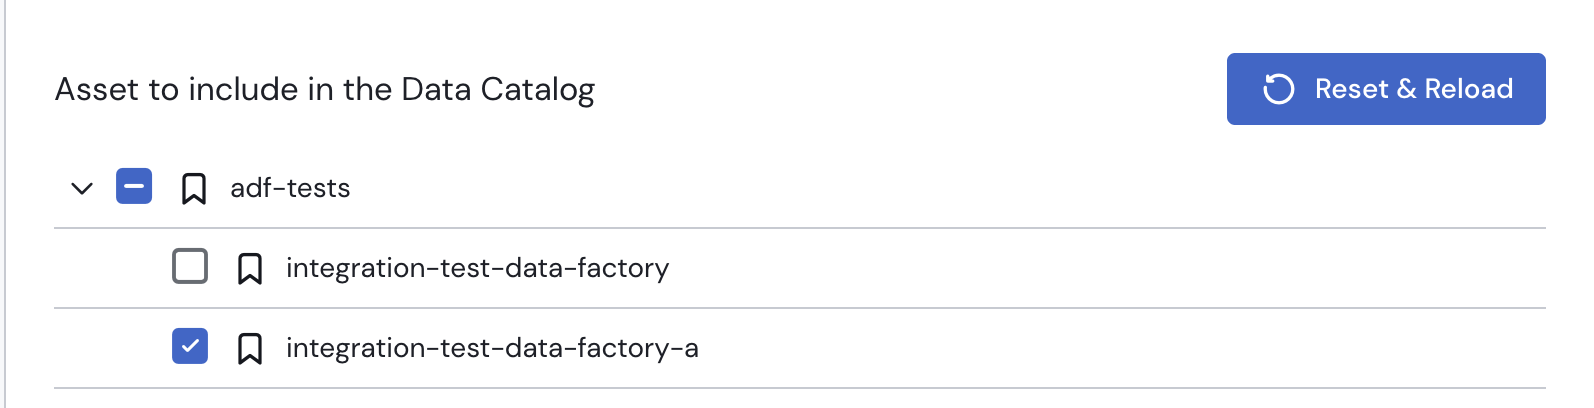
Choosing the data factories to include in the integration.
-
Click Test Connection to verify the setup.
-
Click Save.
Verification
Once the integration is saved, Sifflet will begin ingesting metadata. You can verify the connection by:
- Navigating to the Catalog.
- Filtering by the Azure Data Factory source.
- Confirming that your pipelines appear and their latest status is visible.
Updated 8 months ago