Amazon QuickSight
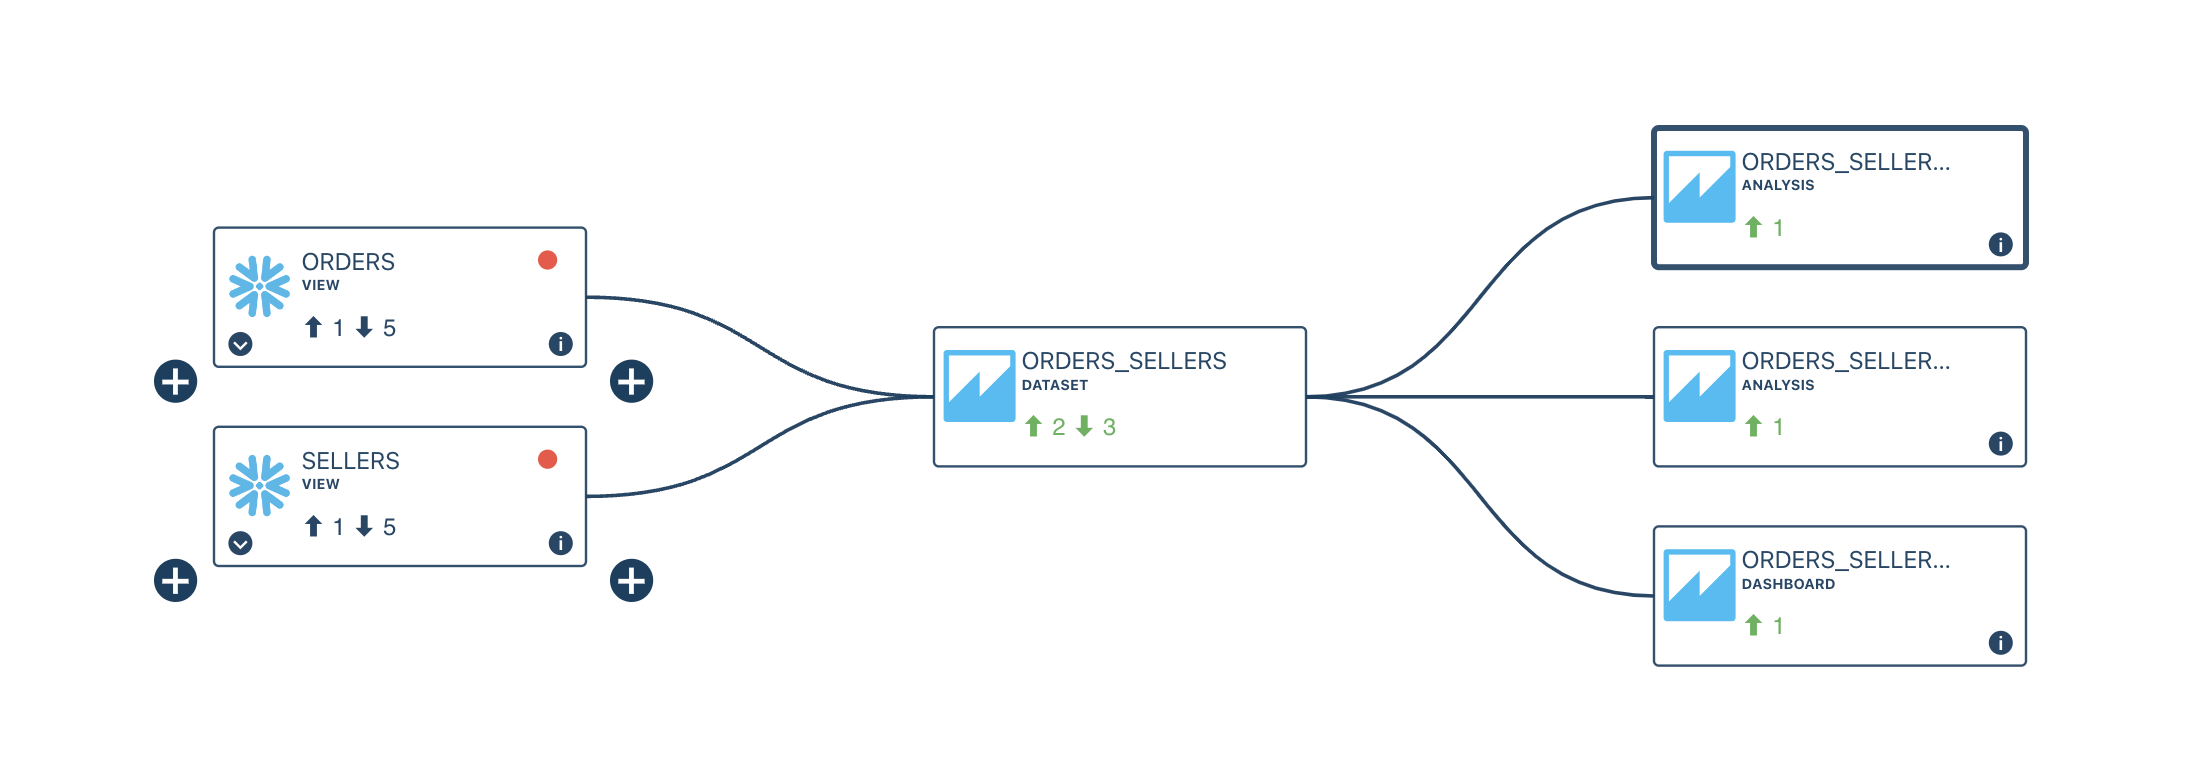
You can integrate with Amazon QuickSight to map the dependencies between QuickSight objects and data pipelines.
To connect Sifflet to QuickSight, you will need to log in your AWS account as a user with admin permissions.
The main steps are the following:
- Configure a read-only role in your AWS account, with a trust policy allowing Sifflet to assume this role
- Add a QuickSight datasource in Sifflet
1- AWS configuration
Please find below the steps to configure your AWS account to allow Sifflet to connect with QuickSight:
a. Create a AWS policy granting read-only permissions on QuickSight resources
b. Create a role with a custom trust policy
a. Create a AWS policy granting read-only permissions
- In the AWS console, go to
IAM->Policies, click onCreate policy - Copy the following JSON.
Do not forget to replace the region and AWS account ID with your own values inResource
{
    "Version": "2012-10-17",
    "Statement": [
        {
            "Action": [
                "quicksight:list*",
                "quicksight:describe*"
            ],
            "Resource": "arn:aws:quicksight:eu-west-1:111122223333:*",
            "Effect": "Allow"
        }
    ]
}- On the next screen, you can choose the name of the policy, for instance,
sifflet_quicksight_read_policy
b. Create the role with a custom trust policy
Please find the main steps below (you can also refer to AWS's official documentation):
- In the AWS console, go to
IAM->Roles, click onCreate role - Choose
Custom trust policyand copy the following JSON.
Do not forget to replacetenantwith your tenant name.
For example, if your instance is<https://datacompany.siffletdata.com> then your tenant isdatacompany.
{
    "Version": "2012-10-17",
    "Statement": [
        {
            "Effect": "Allow",
            "Principal": {
                "AWS": [
                    "arn:aws:iam::386396202409:role/sifflet-<tenant>-integration"
                ]
            },
            "Action": "sts:AssumeRole"
        }
    ]
}- On the next screen, choose the previously created policy,
sifflet_quicksight_read_policyin our example - On the next screen, you can choose the name of the role, for instance,
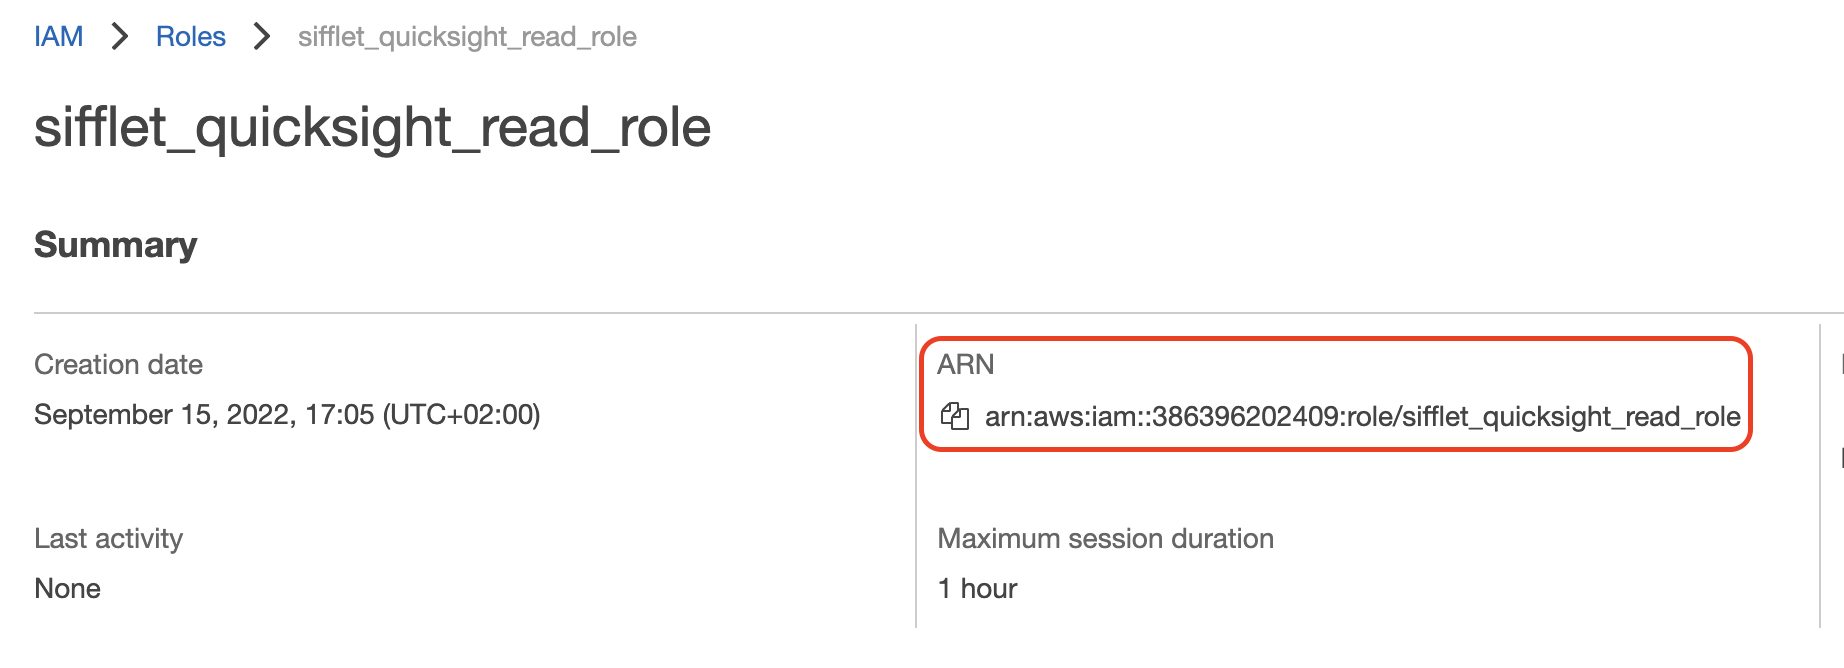
sifflet_quicksight_read_role - You can now access your newly created role. Please take note of its ARN, you will need it to connect Sifflet to QuickSight. It will be similar to the following
arn:aws:iam::123456789101:role/sifflet_quicksight_read_role
2- Add QuickSight datasource in Sifflet
- On the left panel, choose "Integration" and then the "Sources" submenu
- Click "New" Datasource and choose "QuickSight"
- Information required:
- Name of the datasource
- AWS Role ARN: the ARN of the previously created AWS role
arn:aws:iam::123456789101:role/sifflet_quicksight_read_role - Account ID: your AWS account ID. You can also find it in the AWS role ARN as the 12-digit number. For instance, it is
123456789101forarn:aws:iam::123456789101:role/sifflet_quicksight_read_role - AWS Region: the AWS region where your QuickSight dashboards are defined
Updated 8 months ago
Did this page help you?