Hive/Atlas on Cloudera ᴮᴱᵀᴬ
You can now integrate with Hive on Cloudera. You can additionally connect to Atlas in order to retrieve more metadata and lineage information on your Hive assets.
To connect Sifflet to Hive, you will need the following rights at least:
- rights to create a principal and keytab in Kerberos
- admin rights for Ranger
The main steps are the following:
- Create a principal on Kerberos for Sifflet
- Grant access rights for the principal via Ranger
- Find the JDBC URL used to connect to your Hive instance
- Add a Hive datasource in Sifflet
- (optional) Connect Sifflet to Atlas
1- Create a Sifflet principal on Kerberos
- Create the principal and its keytab. See here for more details. One way to proceed is the following:
- Create a new principal, using
kadmin(orkadmin.localif you are logged in on the KDC)
After enteringkadmin, create the principal withaddprinc principal-name.
You can renameprincipal-namefor the actual name you want to give to this principal, for examplesifflet_principal. Save the principal name as you will need it for step 4. It will have the following format:principal-name@YOURREALM - Create a keytab file for this principal with
xst -k /path/to/keytab/file.keytab principal-name@YOURREALM - Encode the keytab file in base64, with
openssl base64 -in /path/to/keytab/file.keytab -out /path/to/keytab/file.keytab.b64 - Save the content of the generated base64 file for step 4. To access the content:
cat /path/to/keytab/file.keytab.b64
- Create a new principal, using
- Get the krb5.conf configuration file. You can find an example on your cluster node.
Save the content of this file for step 4
2- Grant access rights for the principal via Ranger
Go to your Ranger Admin interface and configure authorisations.
- Create a new user with the same name as your principal, keeping only the part prior to
@YOURREALM.principal-name@YOURREALM→ the Ranger user should be namedprincipal-name - Add a policy that grants this user
SELECTpermission on:
- the
sysdatabase - Any other Hive databases that you want to connect to Sifflet
This results in something similar to : database: <sys + list of target databases>, tables: *, columns: *
3- Find the JDBC URL of your Hive instance
The JDBC URL of your Hive instance will have the following format:
jdbc:hive2://<host>:<port>/<database>;principal=<principal>. There could be additional optional parameters such as transportMode and httpPath. You can find more information here.
<host>: the hostname or IP address of the server you connect to. It will usually point either to the host running HiveServer2 or a Zookeeper node (if using Zookeeper)<port>: the port number to connect to (Usually 10000 or 10001 if connected directly to HiveServer, but can be something else for instance for Zookeeper)<database>: the name of the Hive database you want to connect to<principal>: a Kerberos user used by Hive (usually hive/_HOST@YOURREALM)
4- Add a Hive datasource in Sifflet
Create the Secret
- In "Integration" --> submenu "Secrets", create a new secret
- In the "Secret" area, copy-paste the content of the generated base64 keytab file of step 1
Add the datasource
-
On the left panel, choose "Integration" and then the "Sources" submenu
-
Click "New" Datasource and choose "Hive"
-
Information required:
- Name: the Sifflet name of the datasource
- Database: the name of the Hive database you want to connect to
- Jdbc URL: the JDBC URL of step 3
- Principal: the principal name you saved at step 1
- Secret: the secret you just created in the previous step
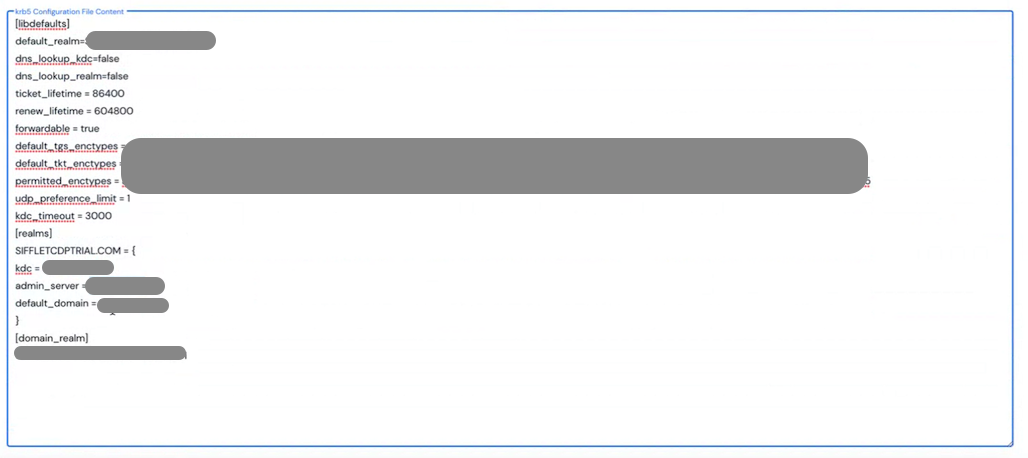
- krb5 Configuration File Content: You can paste directly the content of the krb5.conf saved in step 1
5- (optional) Connect Sifflet to Atlas
By connecting to Atlas, Sifflet can retrieve more metadata and lineage information from your Hive assets.
The information required is:
- Atlas Base URL: the URL of your Atlas instance with the following format
http(s)://xxx:<port>/api/atlas. The port is by default31000forhttpand31443forhttps - Atlas Principal: the principal name with the following format
HTTP/hostname@REALM